You'll need
- Paper
- Markers or crayons (optional)
- Tape (optional, for a throwing line)
- Paper clips (optional)
Steps
- 1Fold a simple dart plane together, creasing each fold hard with a fingernail so it holds its shape
- 2Let your child decorate their plane with markers or crayons, a name or racing stripes make it theirs
- 3Mark a throwing line on the floor with tape and pick a target or landing zone across the room
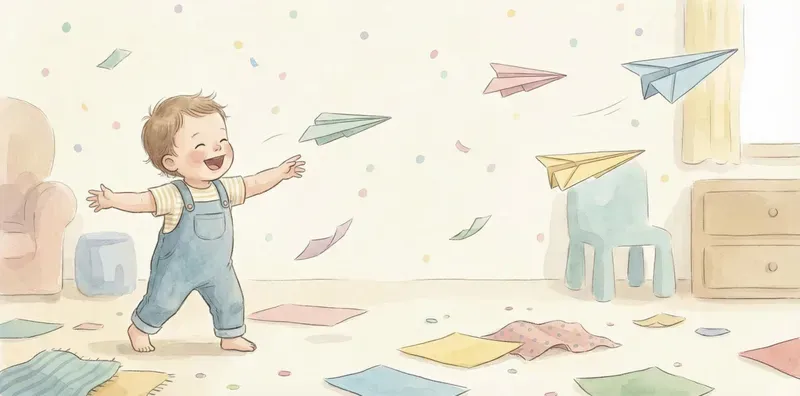
- 4Take turns throwing for distance and see whose plane flies farthest, marking each landing spot
- 5Change one thing and test it, add a paper clip to the nose or bend the wing tips up, then throw again
- 6Talk about why one plane flew better, pointing out the folds or the weight that made the difference
Why this works
Folding a crisp airplane is real fine motor work: lining up edges and pressing sharp creases takes focus and steady fingers. The throwing then turns it into a hands-on physics experiment, your child sees how weight, wing shape, and force change the flight, which is early cause-and-effect and problem solving. Because they can tweak and re-test endlessly, one sheet of paper holds their attention far longer than you would expect.
Try also
- –Try two or three different fold styles and race them against each other
- –Build a cardboard runway and hangar for the planes
- –Add a paper clip to the nose to test how weight changes the flight
- –Aim for a hula hoop or a box target instead of throwing for distance
- –Make a giant plane from a big sheet and a tiny one from a sticky note
Aim planes away from faces and anything breakable. A grown-up handles any cutting.